
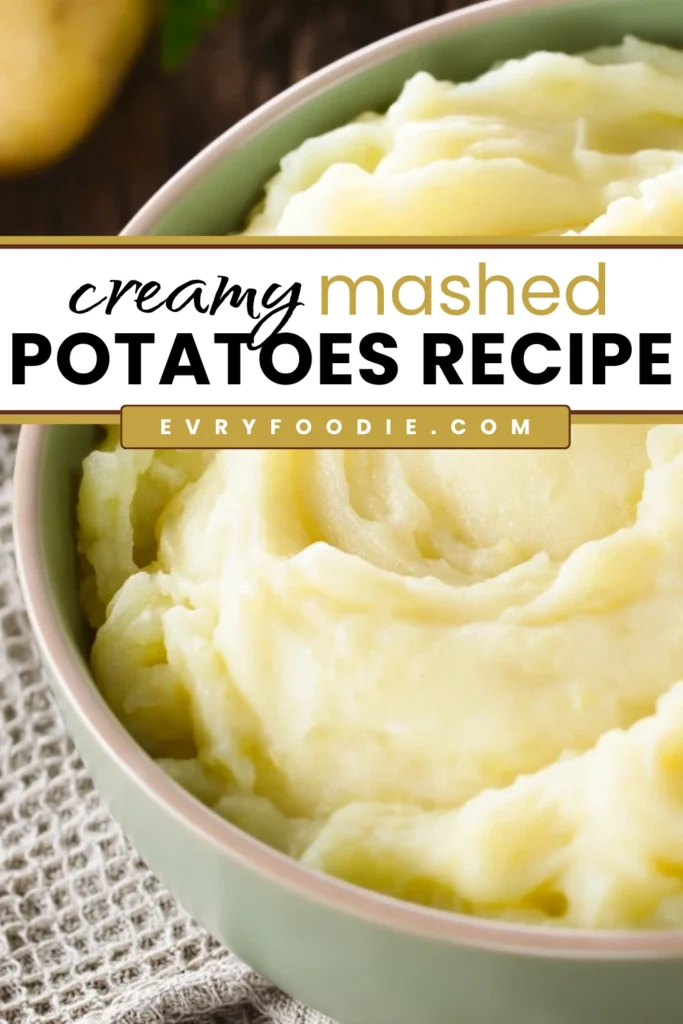
The Perfect Comfort Food That Never Disappoints
If there’s one side dish that always gets more attention than the main course, it’s this mashed potatoes recipe. We’re talking ultra-creamy, buttery, melt-on-your-tongue perfection, the kind that makes people pause mid-bite and go, “Wait… what’s in these?” Over the years, I’ve tweaked, tested, and taste-tested again (tough job, right?) to get these just right. And now? They’re officially the most requested dish at every family gathering, Sunday roast, or cozy weeknight dinner.
What makes them so special? They’re wildly simple but feel totally elevated. Just a handful of pantry staples, a couple smart techniques, and boom, mashed potatoes that taste like they came straight from a high-end steakhouse. They go with absolutely everything and vanish fast, so maybe double the batch, just saying.
Why You’ll Love This Mashed Potatoes Recipe
The first time I made these mashed potatoes was for a Thanksgiving dinner that almost went sideways. The turkey was taking forever, the stuffing burned slightly, but these potatoes? Absolute perfection. They saved the meal and became the unexpected star of the table. My aunt, who rarely compliments anything, asked for the recipe before dessert was even served!
What makes this recipe special:
- Fool-proof method that works every time, even for kitchen novices
- Perfectly balanced flavor with just the right amount of butter, garlic, and salt
- Silky-smooth texture without being gluey or lumpy (unless you prefer some texture!)
- Make-ahead friendly so you can prep them in advance for busy dinners
- Customizable base that welcomes countless variations to match any meal
- Restaurant-quality results using simple pantry ingredients
KEY INGREDIENTS BREAKDOWN
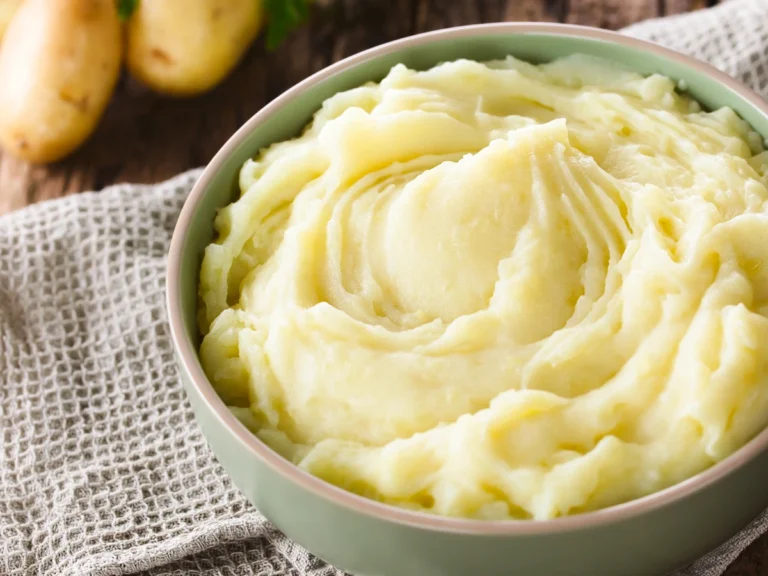
Potatoes – The foundation of great mashed potatoes! This recipe calls for russets, Yukon Golds, or a mix. Russets create fluffy, light potatoes while Yukons provide a naturally buttery flavor and creamier texture. I often use a 50/50 mix for the perfect balance.
Garlic – Fresh cloves boiled with the potatoes infuse gentle flavor throughout without overpowering. The boiling process mellows the garlic’s sharpness while maintaining its aromatic qualities.
Butter – Use unsalted butter to control the salt level precisely. The full stick might seem indulgent, but it’s spread across 8 servings and creates that luxurious mouthfeel that makes restaurant potatoes so irresistible.
Whole Milk – The fat content in whole milk contributes to creaminess. Don’t substitute with lower-fat options unless absolutely necessary, as they can make potatoes watery rather than rich.
Sour Cream – This optional ingredient adds tanginess and extra creaminess. Even a quarter cup makes a noticeable difference in both flavor complexity and texture.
Sea Salt – More nuanced than table salt, sea salt enhances the potato flavor without making them taste “salty.” Always salt your cooking water generously, it’s your first opportunity to season the potatoes from within.
VARIATIONS + SUBSTITUTIONS
Dairy-Free Version – Replace butter with olive oil or a plant-based butter, and substitute milk with unsweetened almond milk or chicken broth. Skip the sour cream or use a dairy-free alternative.
Loaded Mashed Potatoes – Fold in cooked bacon bits, shredded cheddar cheese, and sliced green onions just before serving for a twice-baked potato flavor profile.
Herb-Infused – Add 1-2 tablespoons of fresh herbs like rosemary, thyme, or sage. For best results, infuse them in the warming milk before adding to potatoes.
Roasted Garlic Upgrade – Replace the boiled garlic with a whole head of roasted garlic for deeper, sweeter garlic notes that complement the potatoes beautifully.
Lighter Option – Substitute half the potatoes with cauliflower that’s been boiled until very tender. Most guests won’t even notice the difference!
STEP BY STEP SUMMARY INSTRUCTIONS
Prep and Boil Your Potatoes
Start by peeling and chunking your potatoes into evenly-sized pieces (about 1.5-inch cubes). Don’t cut them too small or they’ll absorb too much water. Adding whole garlic cloves to the cold water is a game-changer, they’ll cook alongside the potatoes and mellow perfectly. Remember to start with cold water and add a generous tablespoon of salt; starting with cold water ensures even cooking from the inside out.
Master the Mashing Technique
After draining, return potatoes to the still-warm pot, this helps evaporate excess moisture for fluffier results. Begin mashing while they’re piping hot; don’t wait or you’ll end up with gummy potatoes. The partial mash before adding butter and milk allows the potatoes to absorb these ingredients more effectively.
Achieve Perfect Creaminess
When adding butter and milk, make sure they’re warm, as cold ingredients will cool your potatoes and make incorporation more difficult. Fold ingredients rather than stirring vigorously to prevent the potatoes from becoming gluey. The optional sour cream should be the last addition, gently folded in for tangy richness.
A Few Helpful Tips
- Don’t over wash your potatoes after peeling, some starch is good for creating that perfect texture.
- Never use a food processor or blender to mash potatoes unless you want wallpaper paste! The potato masher or ricer is your friend here.
- Warm your milk before adding it to the potatoes, this prevents cooling the mixture and helps with absorption.
- Taste before final seasoning, potatoes absorb salt differently depending on their variety and cooking method.
- Let the mashed potatoes rest covered for 5 minutes before serving to allow flavors to marry perfectly.
THE SECRET TO TRULY FLUFFY POTATOES
Many recipes miss this crucial step: after draining your potatoes, return them to the hot pot and let them sit for 2 minutes with the heat off before mashing. This allows excess moisture to evaporate, preventing waterlogged, diluted potatoes. For ultra-fluffy results, you can even gently shake the pot over low heat for 30 seconds to dry the potatoes further.
The other game-changing technique is using a potato ricer if you have one. While a masher works well, a ricer creates the most cloud-like, lump-free potatoes imaginable. It’s worth the investment if you make mashed potatoes regularly.
TROUBLESHOOTING COMMON MASHED POTATO PROBLEMS
Fixing Gluey Potatoes
Over-mashed potatoes can develop a gluey texture when their starch is overworked. If this happens, try folding in a little more warm butter and a splash of heavy cream to rescue them. As a last resort, spread them in a baking dish, top with cheese, and bake into a potato casserole.
Preventing Bland Results
Underseasoned potatoes are a common disappointment. Remember that potatoes need more salt than you might think. Always taste before serving and adjust accordingly. Adding salt to the cooking water is essential—it’s your first opportunity to build flavor from within.
Serving Suggestions + Pairings
These mashed potatoes shine alongside so many main dishes:
- Classic roast chicken or turkey with gravy
- Meatloaf with a tangy tomato topping
- Pot roast with the drippings spooned over both meat and potatoes
- Pan-seared steak with the potatoes catching all those flavorful juices
- Braised short ribs where the potatoes can soak up the rich sauce
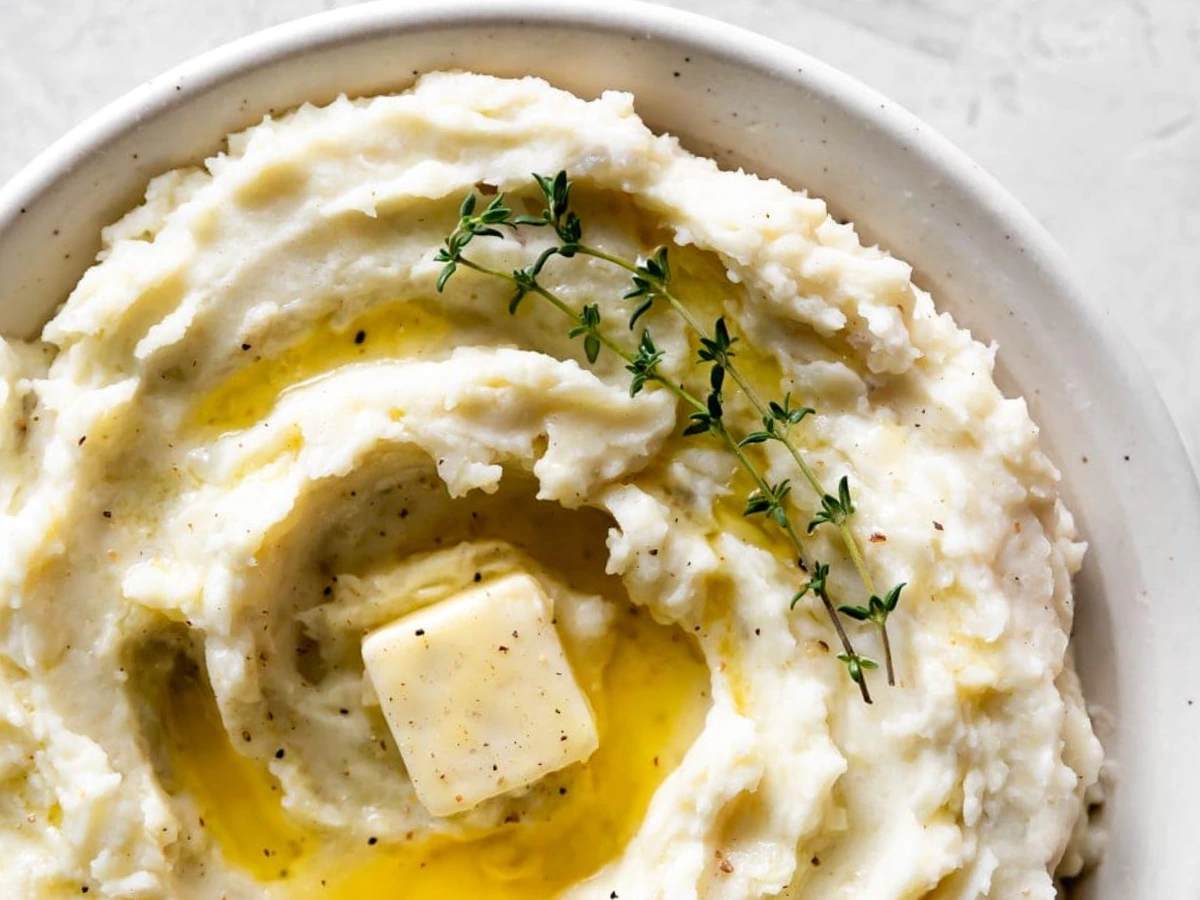
For toppings, try:
- Fresh herbs like chives, parsley, or dill
- Compound butter with herbs and garlic
- Crispy fried shallots or caramelized onions
- A drizzle of truffle oil for special occasions
- Freshly grated Parmesan cheese
STORAGE, REHEATING, AND FREEZING TIPS
Refrigerator Storage – Store cooled mashed potatoes in an airtight container for up to 4 days. They will firm up when cold, which is normal.
Best Reheating Method – For silky results when reheating, place in a covered oven-safe dish with a tablespoon of butter and milk, then warm at 350°F for about 20 minutes, stirring halfway through. Microwave reheating works in a pinch but may create uneven hot spots.
Freezing Instructions – While not ideal, you can freeze mashed potatoes for up to 1 month. Add extra butter before freezing (about 2 tablespoons per quart) to help maintain texture. Thaw overnight in the refrigerator before reheating.
Make-Ahead Tip – For entertaining, make these up to 2 days ahead and store in the refrigerator. On serving day, place in a buttered casserole dish, dot with butter, cover with foil, and reheat at 350°F for 25-30 minutes.
FAQ
Can I make mashed potatoes ahead of time for a big dinner?
Absolutely! Prepare them up to 2 days in advance and refrigerate. For reheating, place in a buttered baking dish, add a few tablespoons of milk or cream over the top, cover with foil, and heat at 350°F until warmed through (about 30 minutes). Stir well before serving.
Why did my mashed potatoes turn out gluey?
Gluey potatoes usually result from overworking the potatoes or using a food processor/blender. Stick with a manual masher or ricer, and mix just until ingredients are incorporated. Also, make sure to use the right type of potato, waxier varieties like red potatoes can become paste-like more easily than russets.
How can I keep mashed potatoes warm without drying out?
The best method is using a slow cooker on the “warm” setting with a little extra butter on top. Alternatively, place them in a heatproof bowl over a pot of barely simmering water (double-boiler method), covering the bowl with foil. Either way, stir occasionally and add warm milk if needed to maintain consistency.
Are Yukon Gold or Russet potatoes better for mashing?
Each has advantages! Russets create fluffier, lighter potatoes while Yukons provide creamier, more buttery-flavored results. My favorite approach is using a 50/50 mix to get the best of both worlds, fluffy yet creamy potatoes with excellent flavor.
Enjoying This Mashed Potatoes Recipe
I make this mashed potatoes recipe all the time. Doesn’t matter if it’s summer or fall, it just works with everything. Grilled chicken, roast beef, a random Tuesday when we’re tired and need something familiar. It’s one of those sides that people actually look forward to. No frills, no fuss. Just really good potatoes. I hope it ends up in your regular rotation too.
When You Try It, We’d Love to Hear About It
Tag us, @evryfoodie, on your favorite social media – Facebook, Instagram, TikTok or Twitter!
We’d love to see your delicious creation.
Mashed Potatoes Recipe: Simple, Rich, and Reliable
If there’s one side dish that always gets more attention than the main course, it’s this mashed potatoes recipe. We’re talking ultra-creamy, buttery, melt-on-your-tongue perfection, the kind that makes people pause mid-bite and go, “Wait… what’s in these?” Over the years, I’ve tweaked, tested, and taste-tested again (tough job, right?) to get these just right. And now? They’re officially the most requested dish at every family gathering, Sunday roast, or cozy weeknight dinner.
- Total Time: 45 minutes
- Yield: 8 servings 1x
Ingredients
3 pounds potatoes, russet potatoes, Yukon Golds, or a mix, peeled and cut into large chunks
3 garlic cloves
1/2 cup unsalted butter, 1 stick, plus more for serving
1 cup whole milk
1 1/2 teaspoons sea salt, plus more for the cooking water
Freshly ground black pepper
1/4 to 1/2 cup sour cream, optional
Chopped fresh chives, for garnish
Instructions
- Add the potatoes and garlic to a large pot and cover with cold water, make sure the water sits about an inch above the potatoes. Stir in a tablespoon of salt.
- Bring it all to a boil over high heat. Once it’s bubbling, drop the heat to medium and let it simmer for 15 to 20 minutes, or until the potatoes are tender enough to easily poke with a fork. Drain them well, then return them to the pot.
- Grab a potato masher and start mashing the potatoes and garlic together. Once they’re mostly broken down, mix in the butter, milk, a pinch of salt, and a few twists of black pepper. Keep mashing until you get the texture you like, we go for silky smooth. If you’re using sour cream, fold it in with a spatula or wooden spoon.
- Taste and adjust the seasoning if needed. Spoon into a serving bowl and top with a little extra butter and chives if you’re feeling fancy.


- Prep Time: 15 minutes
- Cook Time: 30 minutes
- Category: Side Dish
- Method: Stove
- Cuisine: American
Share Your Experience and Customizations
Don’t forget to leave a rating and a comment below! We’d love to hear how it turned out for you. If you made any tweaks or added your own spin, let us know how it went, we’re all about seeing how y’all make it your own!
Similar recipes to check out
you might also LIKE TO check out
- USDA – Food Safety and Inspection
- Harvard T.H. Chan School of Public Health – Nutrition Source
- America’s Test Kitchen – Science of Cooking Section